 Save to Pinterest
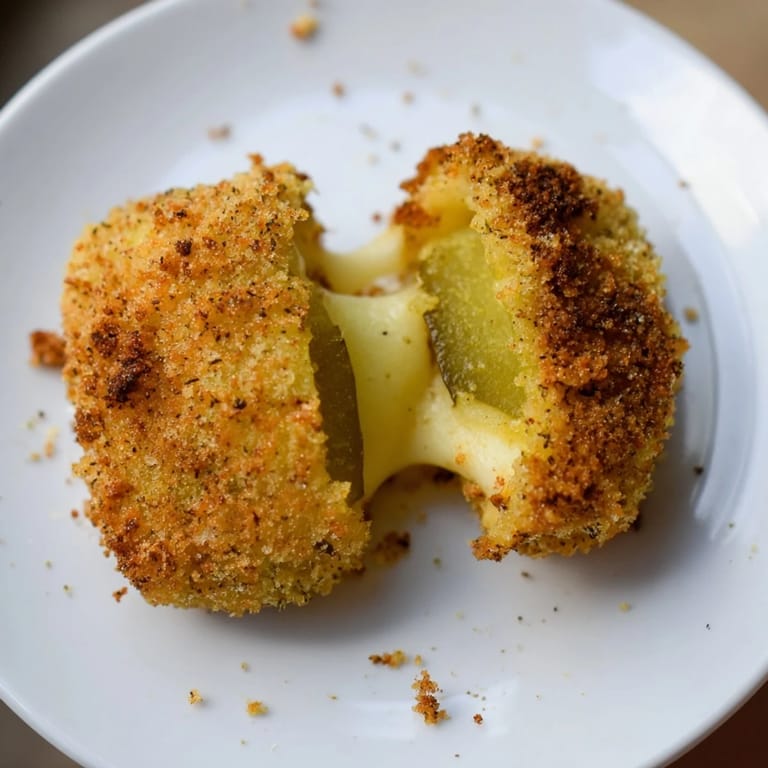
 The first time I made these, I was hunting for something to bring to a game night that wouldn't require me to spend hours in the kitchen. I'd seen pickles wrapped in cheese somewhere online and thought, why not coat them in crispy breadcrumbs and fry them? Ten minutes later, I realized I'd stumbled onto something genuinely addictive—the kind of snack that disappears before anyone remembers eating it.
I still remember my friend Sarah's face when she bit into one at that game night—her eyes went wide, she looked at me, and without a word, she reached for another. That's when I knew I'd created something special, something that bridges the gap between sophisticated appetizer and pure comfort snack.
Ingredients
- Dill pickle spears: Get the biggest ones you can find and pat them very dry—any moisture will cause the oil to splatter and prevent proper browning.
- Mozzarella, cheddar, provolone, or pepper jack: Pick a cheese that melts smoothly and complements the tang of the pickle; fresh mozzarella is perfectly fine if that's what you have.
- Large egg: This creates the glue between pickle and breadcrumbs; one is exactly right for a batch this size.
- Milk: Thin out the egg so the coating goes on evenly without clumping.
- Gluten-free panko breadcrumbs: Regular panko works just as well; the panko gives you that shatteringly crisp texture you can't get with regular breadcrumbs.
- Garlic powder and smoked paprika: These aren't just filler—they're what make people ask what's in these bites.
- Vegetable oil: Any neutral high-heat oil works; I prefer vegetable or canola for frying.
Tired of Takeout? 🥡
Get 10 meals you can make faster than delivery arrives. Seriously.
One email. No spam. Unsubscribe anytime.
Instructions
- Dry your pickles completely:
- Pat the spears thoroughly with paper towels and cut each one in half crosswise to get 16 pieces. Moisture is the enemy here—it'll cause splattering and soggy coatings.
- Wrap pickles in cheese:
- Lay out a cheese slice, place a pickle piece at one end, and roll it up tight. Use a toothpick to hold it together if the cheese is slipping.
- Set up your coating station:
- Whisk egg and milk together in one shallow bowl, and mix breadcrumbs with garlic powder, smoked paprika, and black pepper in another.
- Coat each bite:
- Dip the cheese-wrapped pickle into the egg mixture, then roll it in the breadcrumb mixture and press gently so everything sticks. Think of it like you're giving them a little crunchy sweater.
- Heat your oil:
- Pour about 1 inch of oil into a deep skillet and heat it to 350°F (175°C). A thermometer here is worth its weight in gold—too hot and the outside burns before the cheese melts, too cool and they get greasy.
- Fry in batches:
- Work in small batches so you don't crowd the pan and drop the oil temperature. Fry for 2 to 3 minutes per batch, turning occasionally, until they're deep golden brown.
- Drain and serve:
- Transfer to a paper towel-lined plate, pull out the toothpicks, and serve immediately while they're still warm and the cheese is gooey.
 Save to Pinterest
 There's something magical about watching people's faces light up when they realize it's a pickle inside—it's the surprise that makes it memorable. These bites have become my secret weapon, the thing I bring when I want to be remembered as the person who brought the good stuff.
Dipping Sauces That Change Everything
Ranch is the obvious choice and works beautifully, but spicy mayo made with sriracha or hot sauce takes it somewhere else entirely. Marinara feels unexpected but somehow perfect, especially if you use pepper jack cheese. The tanginess of the pickle plays off whatever creamy or spicy sauce you choose, so don't just serve these naked—a good dipping sauce is what turns them from snack into an experience.
Baking Versus Frying
If you're watching your oil intake, you can bake these instead and they'll still be crispy—just place them on a parchment-lined baking sheet, spray them with oil, and bake at 425°F (220°C) for 12 to 15 minutes, flipping halfway through. They won't have quite the same deep-fried crunch, but they're honest and delicious in their own right. Both methods work; it just depends on what you're going for and how much cleanup you want to do.
Storage and Make-Ahead Tips
You can assemble these ahead of time and keep them in the refrigerator for a few hours before frying—just fry them right before serving so the coating stays crispy and the cheese stays melted in the center. Leftovers will keep in an airtight container for a day, though they're best fresh. If you need to reheat them, a quick spin in a 375°F oven for 5 minutes will bring back some of that crispness.
- Assemble up to 4 hours ahead and refrigerate before frying.
- Use a meat thermometer or candy thermometer to nail the oil temperature every time.
- Experiment with different cheeses and pickles—there's no single right way to make these.
 Save to Pinterest
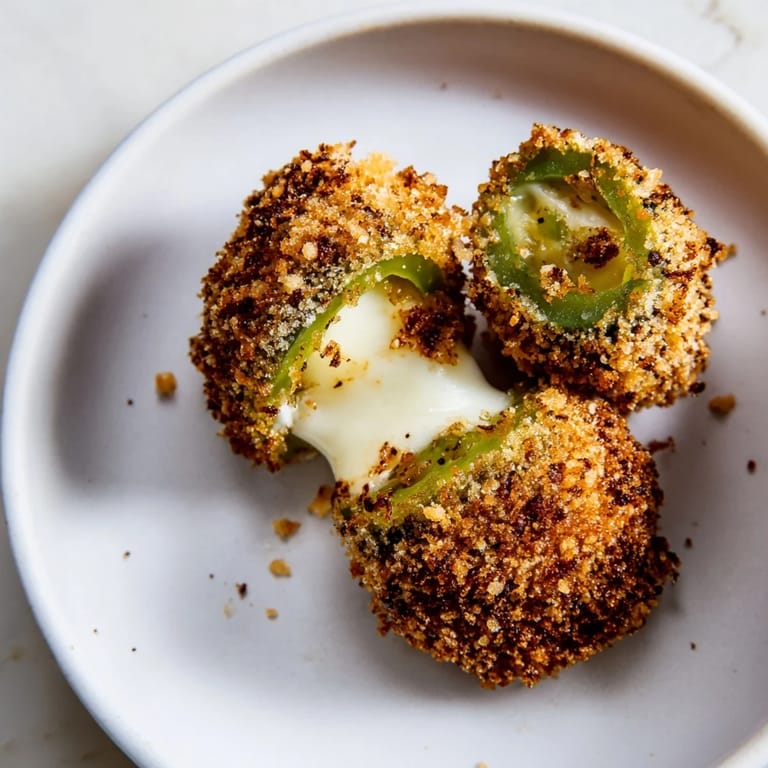
 These crispy chickle bites have a way of disappearing fast and leaving people asking for the recipe. Make them once and they'll become your go-to move for every gathering.
Answers to Recipe Questions
- → What type of cheese works best for these bites?
Mozzarella offers excellent meltability, but cheddar, provolone, or pepper jack can be used for varied flavors and textures.
- → Can I bake these bites instead of frying?
Yes, bake at 425°F (220°C) for 12–15 minutes on a parchment-lined sheet, flipping halfway to maintain crispiness.
- → How to ensure the coating sticks well?
After dipping the cheese-wrapped pickles in egg and milk, press them firmly into the seasoned breadcrumbs for an even, secure coating.
- → What dipping sauces pair well with these bites?
Ranch, spicy mayo, or marinara provide great complementary flavors to the tangy and cheesy bites.
- → Are these bites suitable for gluten-free diets?
Use gluten-free panko breadcrumbs to keep the coating suitable for gluten-free eating.