 Save to Pinterest
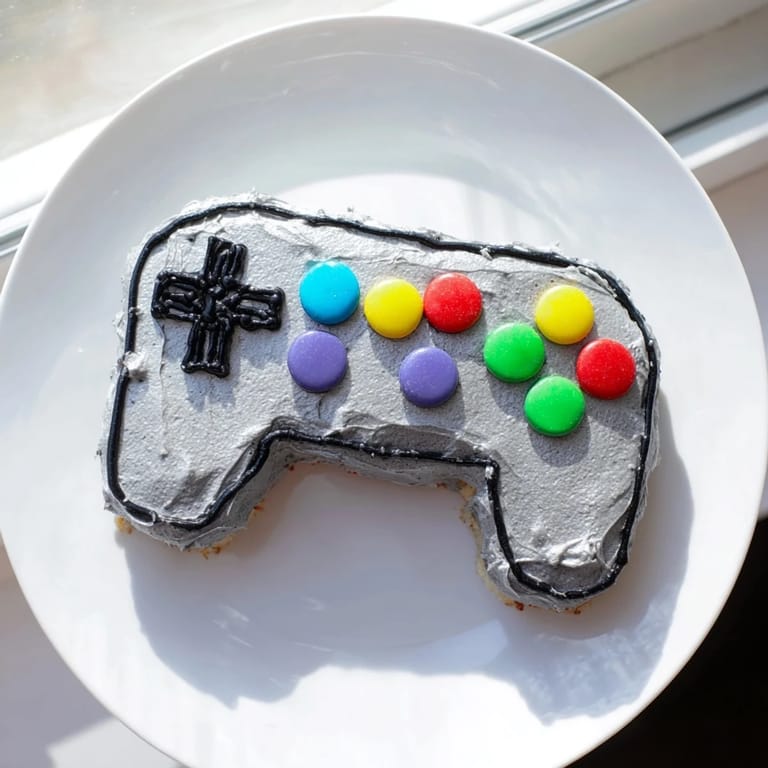
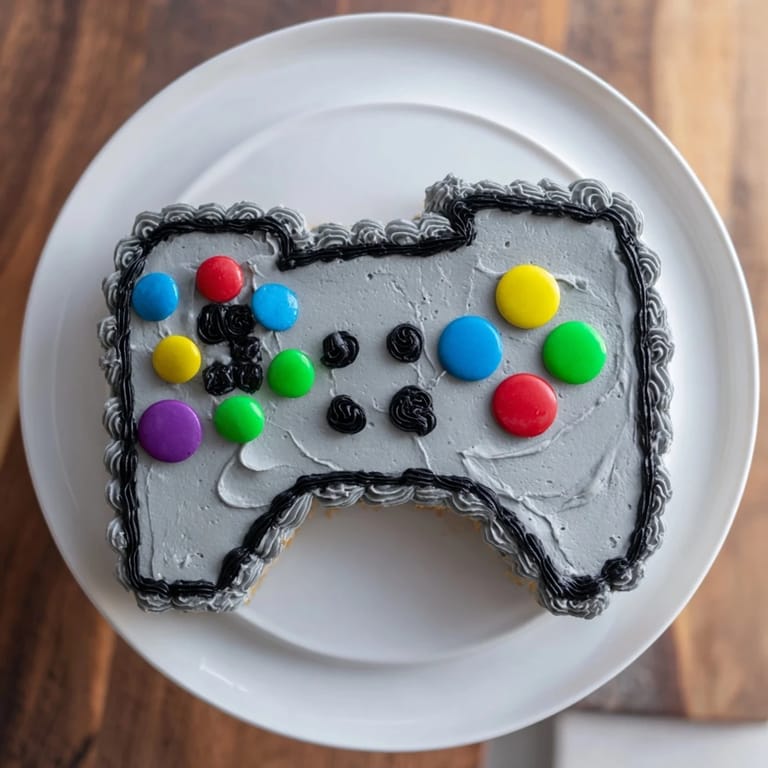
 A playful, colorful cake designed to look like a classic video game controller, perfect for parties and gaming fans.
This cake always brings smiles during game nights at our house.
Ingredients
- Cake: 2 cups all-purpose flour, 1 ½ cups granulated sugar, 1 cup unsalted butter softened, 4 large eggs, 1 cup whole milk, 2 tsp vanilla extract, 2 ½ tsp baking powder, ½ tsp salt
- Buttercream Frosting: 1 cup unsalted butter softened, 4 cups powdered sugar, 2 3 tbsp milk, 2 tsp vanilla extract, Food coloring (black, red, blue, green, yellow, purple, and gray)
- Decoration: Assorted colored candies (for buttons), Black licorice strings (for controller cables optional)
Tired of Takeout? 🥡
Get 10 meals you can make faster than delivery arrives. Seriously.
One email. No spam. Unsubscribe anytime.
Instructions
- Step 1:
- Preheat oven to 350°F (175°C) Grease and line a 9x13 rectangular cake pan
- Step 2:
- In a large bowl cream butter and sugar until light and fluffy Beat in eggs one at a time then mix in vanilla
- Step 3:
- In a separate bowl whisk together flour baking powder and salt
- Step 4:
- Alternate adding dry ingredients and milk to the butter mixture beginning and ending with flour Mix until just combined
- Step 5:
- Pour batter into prepared pan and smooth the top Bake for 35 40 minutes or until a toothpick inserted into the center comes out clean
- Step 6:
- Cool cake in pan for 10 minutes then transfer to a wire rack to cool completely
- Step 7:
- For the frosting beat butter until creamy Gradually add powdered sugar then vanilla and milk whipping until smooth and spreadable
- Step 8:
- Divide frosting into separate bowls and tint with food coloring as desired for the controller design (eg gray for the base black for outline colors for buttons)
- Step 9:
- Once cake is completely cool carve into a classic game controller shape using a sharp knife
- Step 10:
- Cover the cake with a crumb coat of gray buttercream Chill for 20 minutes then apply a smooth final layer
- Step 11:
- Pipe outlines and details with black frosting Use colored frosting and candies to make buttons and joysticks Add licorice strings for cable effect if desired
- Step 12:
- Refrigerate until ready to serve Slice and enjoy
 Save to Pinterest
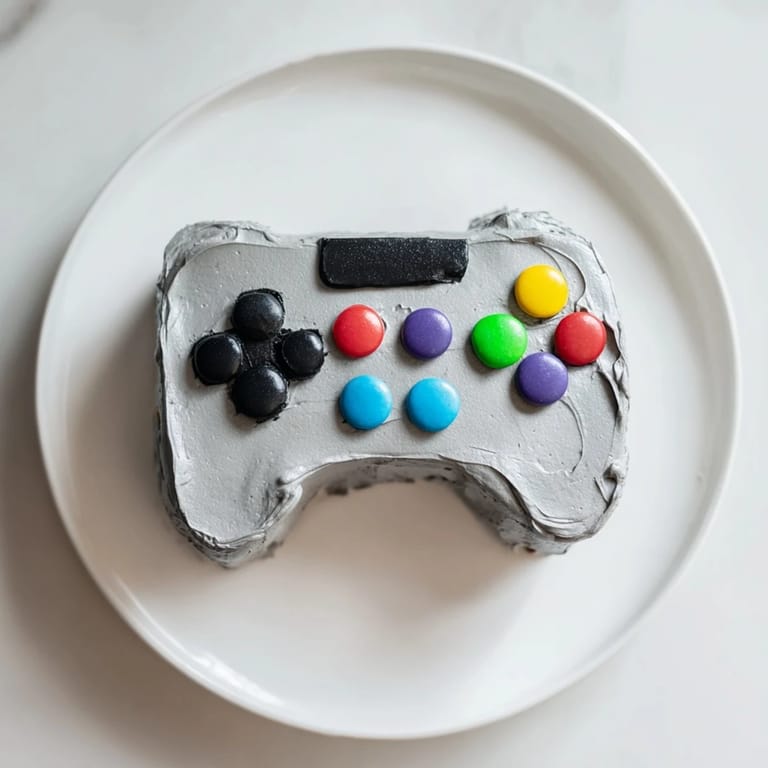
 This cake has become a staple at our family gatherings especially during tournaments
Required Tools
9x13 rectangular cake pan Mixing bowls Electric mixer Offset spatula Piping bags and tips Sharp knife Wire rack
Allergen Information
Contains wheat (gluten) eggs milk and dairy (butter) Candies may contain soy or nuts—check labels if allergies are a concern
Nutritional Information
Calories 420 Total Fat 18 g Carbohydrates 61 g Protein 4 g per serving
 Save to Pinterest
 With these tips your controller cake will look as good as it tastes every time you bake it
Answers to Recipe Questions
- → What type of cake is used for the base?
A moist and fluffy cake made with all-purpose flour, granulated sugar, butter, eggs, milk, and vanilla provides a tender texture that holds well for shaping.
- → How is the controller shape achieved?
The cooled cake is carefully carved into the shape of a classic video game controller using a sharp knife and optionally a printed template as a guide.
- → What decorations are used to mimic controller buttons?
Assorted colored candies are used to represent the buttons on the controller, adding both color and texture.
- → How do you create the colorful frosting details?
Buttercream frosting is divided and tinted with various food colorings to replicate the look of buttons, outlines, and other controller elements.
- → Are there any tips to ensure smooth frosting application?
Apply a crumb coat first and chill the cake before adding the final smooth layer of frosting to avoid crumbs mixing into the design.
- → Can this be made in advance?
Yes, the cake can be baked and decorated ahead. Refrigerate after decorating to maintain freshness until serving.