 Save to Pinterest
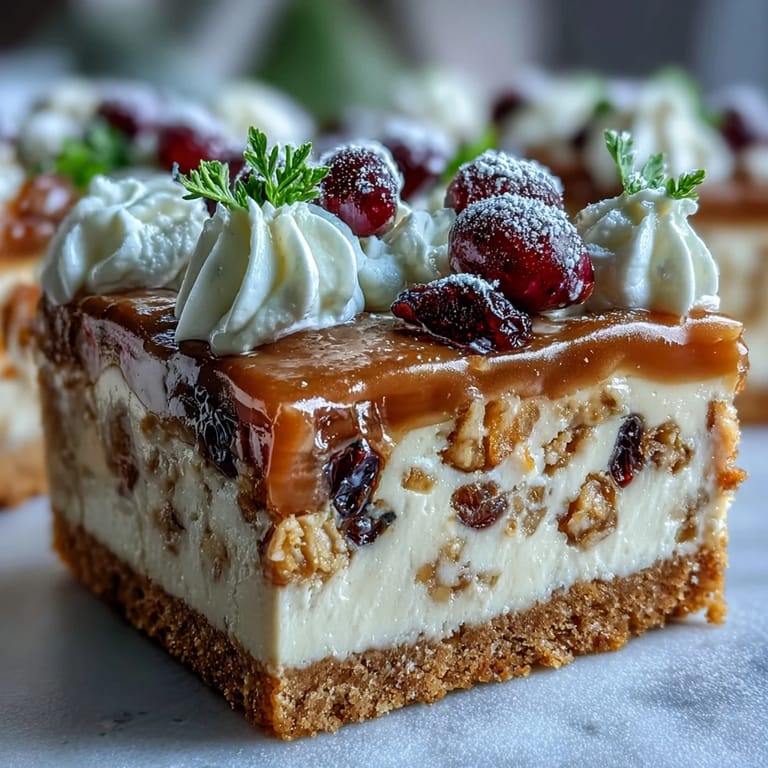
 Last Christmas Eve, my kitchen smelled like a bakery exploded with cinnamon and nutmeg. I'd been testing slab cheesecakes for weeks, trying to perfect something that could feed a crowd without the fuss of individual portions. This version emerged after midnight, when I threw in whatever dried fruits were left in the pantry from holiday baking. The texture was exactly right—creamy but sturdy enough to hold its shape when cut into squares.
I served this at Boxing Day brunch last year, watching my cousin's eyes widen when she took her first bite. 'This tastes like Christmas morning,' she said, reaching for a second square before I'd even sat down. The crust stays impossibly crisp despite all that creamy filling above it, and something about the rectangular shape makes it feel more casual and inviting than traditional round cheesecakes.
Ingredients
- 300 g digestive biscuits: These provide the perfect buttery crunch that holds up against the rich filling
- 120 g unsalted butter, melted: Melt it completely so every crumb gets coated and presses into a solid base
- 600 g cream cheese: Leave it out for at least two hours so it blends silky smooth without any lumps
- 150 g granulated sugar: This amount hits the sweet spot without overpowering the tangy cream cheese
- 150 ml sour cream: The secret ingredient that makes the filling taste like restaurant quality
- 3 large eggs: Room temperature eggs incorporate better and prevent curdling
- 2 tsp vanilla extract: Use pure vanilla for the warmest flavor
- Zest of 1 lemon: Brightens all those warm spices and cuts through the richness
- 120 g mixed dried fruits: Chop them into small pieces so they distribute evenly throughout
- 2 tsp mixed spice: Cinnamon, nutmeg, and ginger create that classic holiday warmth
- 200 ml double cream: Whip it just until soft peaks form—overwhipped cream tastes like butter
- 2 tbsp icing sugar: Sift it first to avoid any lumps in your whipped cream
Tired of Takeout? 🥡
Get 10 meals you can make faster than delivery arrives. Seriously.
One email. No spam. Unsubscribe anytime.
Instructions
- Preheat and prep your pan:
- Set your oven to 160°C (320°F) and line a 20 x 30 cm rectangular baking tray with parchment paper, letting the paper hang over the edges like handles. This trick makes lifting the whole cheesecake out later feel like magic.
- Make the crust:
- Whirl those digestive biscuits in a food processor until they're fine crumbs, then stir in the melted butter until the mixture looks like wet sand. Press it firmly into the bottom of your tray using the back of a spoon or the bottom of a measuring cup. The harder you press, the less likely your crust will crumble when you slice it later. Pop it in the fridge to chill while you make the filling.
- Beat the cream cheese:
- In a large bowl, beat the cream cheese with an electric mixer until it's completely smooth—this takes about 2 minutes and makes all the difference. Gradually add the sugar, beating until it's fully dissolved and the mixture looks glossy.
- Add the wet ingredients:
- Pour in the sour cream, eggs, vanilla extract, and lemon zest. Beat everything together until the filling is silky and uniform. Scrape down the sides of the bowl to catch any pockets of cream cheese that escaped.
- Fold in the festive bits:
- Gently fold in the chopped dried fruits and mixed spice by hand. You want them evenly distributed but not overmixed, which could knock too much air out of the batter.
- Assemble and bake:
- Pour the filling over your chilled crust and smooth the top with a spatula. Give the tray a gentle tap on the counter to release any trapped air bubbles. Bake for 45–50 minutes until the edges are set but the center still wobbles slightly like Jell-O when you shake the pan. If the top starts browning too quickly, tent it loosely with foil.
- The cooling ritual:
- Turn off the oven and leave the cheesecake inside for an hour—this slow cooling prevents those dreaded cracks. Then let it cool completely at room temperature before refrigerating for at least 4 hours, though overnight is even better.
- Finish and serve:
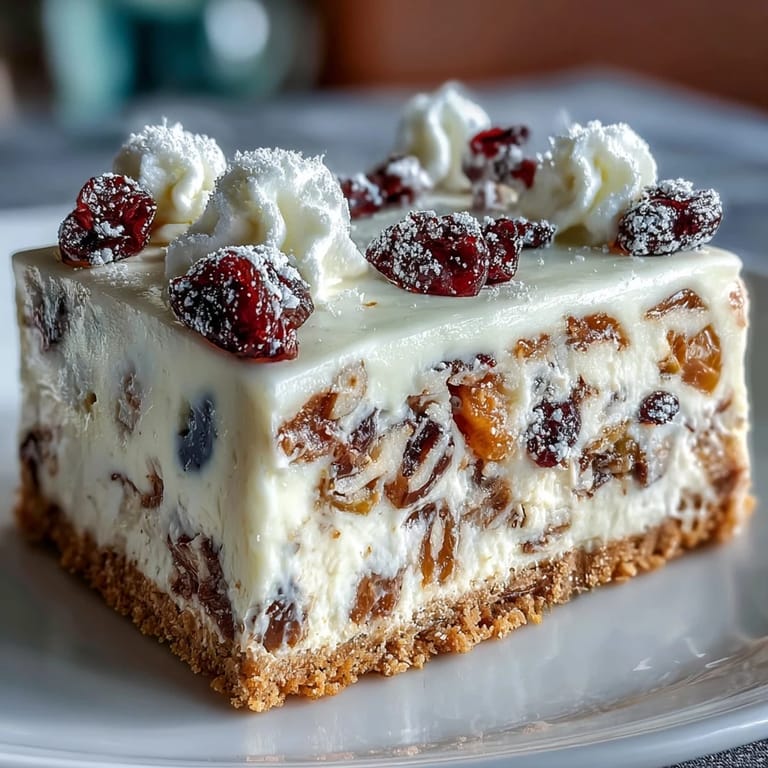
- Whip the double cream with the icing sugar until soft peaks form, then slice the cheesecake into squares. Top each piece with a dollop of cream and a dusting of icing sugar that looks like fresh snow.
 Save to Pinterest
 This cheesecake has become my go-to for holiday potlucks because it travels well and feeds a crowd without any fuss. Last year I made three slabs in one weekend and kept one in the freezer for unexpected guests.
Making It Ahead
The flavor actually improves after a day in the fridge, when the spices have time to meld and the crust settles into the filling. You can freeze individual squares wrapped in parchment for up to a month, though they rarely last that long in my house.
Customizing the Fruits
Sometimes I swap the dried fruits for candied peel or fresh berries when they're in season. The original combination works best for Christmas, but don't be afraid to use what you love or what's in your cupboard.
Getting the Perfect Slice
Run a sharp knife under hot water and wipe it dry between cuts for the cleanest squares. A little warm water melts through any sticky spots and gives you those picture-perfect edges that make people think you're a professional baker.
- Chill your knife in the freezer for extra clean cuts
- Use a ruler if you want perfectly even squares
- Wipe the knife between every single slice
 Save to Pinterest
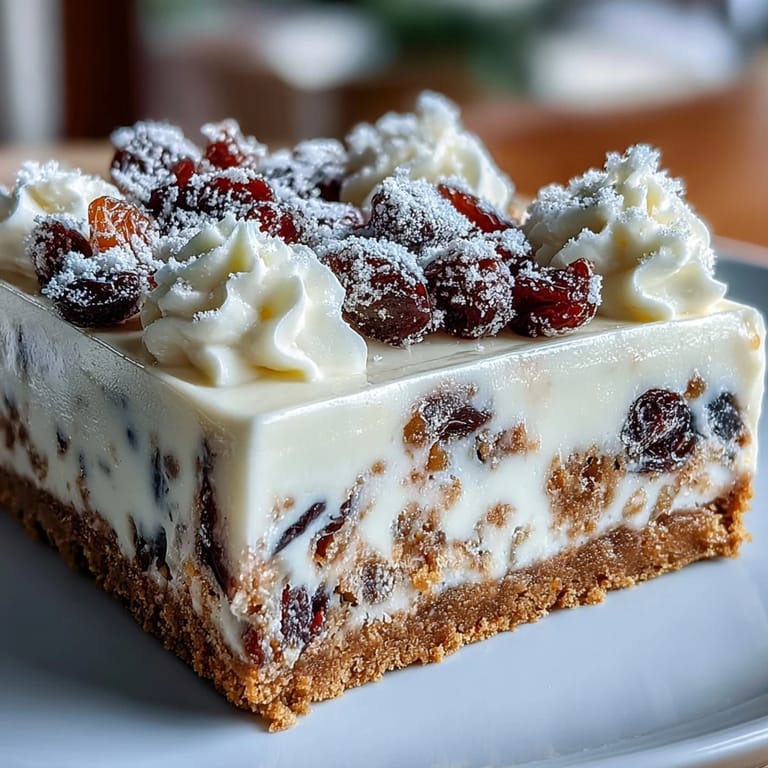
 There's something deeply satisfying about cutting into a slab cheesecake and seeing those perfect layers, knowing you made something that looks professional but came from your own kitchen. Merry baking.
Answers to Recipe Questions
- → How can I ensure my cheesecake doesn't crack?
To minimize cracking, avoid over-baking and sudden temperature changes. Leaving the cheesecake to cool gradually in the turned-off oven for an hour before transferring to room temperature helps immensely. Also, do not over-mix the batter once eggs are added.
- → Are there alternative fruit options for the filling?
Absolutely! While mixed dried fruits are suggested, you can substitute them with fresh berries (ensure they are patted dry to avoid excess moisture) or other candied peels like orange or lemon. Adjust the quantity to your preference.
- → What's the best way to store leftover cheesecake, and can it be frozen?
Store any leftover slices covered in the refrigerator for up to 3-4 days. For longer storage, individual squares can be wrapped tightly in parchment paper and then foil, then frozen for up to one month. Thaw in the refrigerator before serving.
- → How do I know when the cheesecake is perfectly baked?
The edges should appear set, but the very center will still have a slight wobble when gently shaken. It will continue to firm up as it cools. Over-baking can lead to a dry texture and potential cracks.
- → Can I prepare this dessert in advance for a holiday gathering?
Yes, this cheesecake is an excellent make-ahead dessert! It requires at least 4 hours of chilling, but is even better when chilled overnight, allowing the flavors to meld and the texture to fully set. You can prepare it 1-2 days before serving.
- → What serving suggestions pair well with this spiced dessert?
This rich and spiced cheesecake pairs wonderfully with a glass of sweet dessert wine, a warm spiced tea, or even a robust coffee. For an extra touch of indulgence, a drizzle of caramel sauce or a few fresh berries can complement the flavors beautifully.