 Save to Pinterest
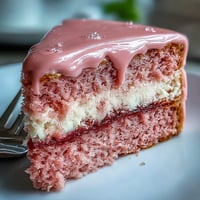
 The gentle fizz of rosé escaping its bottle while I worked butter and sugar into a cloud meant only one thing—something celebratory was about to happen. When I set out to bake this Rosé Velvet Cake for a friend’s bridal shower, the sunlight streaming through my kitchen windows glinted pink off my mixing bowl. It struck me how baking for milestones adds a quiet thrill, each swirl of batter infused with anticipation. The aroma—a blend of cocoa, wine, and vanilla—hinted at grown-up indulgence, whispering that this cake would be a centerpiece. There is nothing quite like the hush of a room as you unveil a cake so pretty you almost want to keep it a secret, gold shimmer and all.
Last spring, I nervously navigated my first gold drip just minutes before guests arrived, laughter echoing from the backyard as I brushed edible gold like it was the world’s finest treasure. I can still remember my hands slightly shaky and the thrill when friends oohed at that blushing slice with shimmering drips. Baking this cake with someone else—or for someone special—inevitably turns the kitchen into a warm little stage, flour-dusted and full of good-natured commotion. It’s not just the cake that lingers in memory, but the chorus of voices guessing the secret ingredient, unable to place the sophisticated hint of wine. After all, the best recipes are the ones that turn ordinary afternoons into pure occasion.
Ingredients
- All-purpose flour: Using a reliable flour gives the cake its signature, tender crumb; sift it well for the lightest layers.
- Cornstarch: A couple of spoonfuls softens the cake just enough for that velvet texture; don’t skip this step.
- Unsweetened cocoa powder: Just a hint brings depth and the classic velvet flavor, without overpowering the delicate rose hue.
- Baking soda: Essential for the cake’s rise—double check yours is fresh for the softest result.
- Salt: A pinch balances out the sweetness and brightens every bite.
- Unsalted butter: Make sure it’s truly at room temperature so it creams smoothly; patient mixing makes all the difference.
- Granulated sugar + light brown sugar: This combination brings a subtle caramel warmth; I always pack the brown sugar lightly.
- Eggs: Let them lose their chill completely for the fluffiest texture—worth the wait.
- Rosé wine: Pick a bottle you’d enjoy drinking; the flavor shines through, especially once the cake cools.
- Buttermilk: This adds tenderness and a slight tanginess that complements the wine.
- Vanilla extract: A generous pour enhances all the floral and cocoa notes.
- Pink gel food coloring: For a brighter, celebratory blush—go easy and adjust to your preference.
- Cream cheese: The base of a lush, tangy frosting; be sure it’s soft for easy mixing.
- Confectioners’ sugar: Sifting avoids lumps, and a gentle touch ensures a pillow-soft finish.
- White chocolate chips: Key to a glossy drip effect; melt them slowly and never rush this step.
- Heavy cream: This keeps the gold drip oozy and easy to manage.
- Edible gold luster dust + clear vodka or lemon extract: The secret to that shimmering paint—choose lemon if you want a hint of citrus aroma.
Tired of Takeout? 🥡
Get 10 meals you can make faster than delivery arrives. Seriously.
One email. No spam. Unsubscribe anytime.
Instructions
- Prepare the pans:
- Grease and line three 8-inch cake pans; the sizzle of butter on the pan always signals baking bliss ahead.
- Mix the dry ingredients:
- Sift together flour, cornstarch, cocoa, baking soda, and salt; watch the powders cloud the air like pink magic dust.
- Cream the butter and sugars:
- Beat until fluffy and barely golden; it should look impossibly light and almost whisper-soft under the mixer.
- Add eggs and vanilla:
- Add eggs one by one, letting the mixture smooth out each time, then add a splash of vanilla for a sweet scent.
- Combine rosé and buttermilk:
- Stir them in a jug, pausing to admire the swirling blush before the liquids touch batter.
- Make the batter:
- With the mixer on low, alternate adding flour blend and the wine mixture, finishing with flour; scrape down the bowl and swirl in enough pink dye for that special glow.
- Divide and bake:
- Pour the silken batter into pans, smoothing the tops, then bake until a tester comes out clean and the tops spring back if touched.
- Cool the cakes:
- Let them rest in pans for 10 minutes, then flip onto a wire rack; the anticipation builds as the kitchen fills with a heady chocolate-rosé aroma.
- Make frosting:
- Whip cream cheese and butter until glossy, then add sugar, vanilla, and salt; take a taste for tangy-sweet heaven.
- Assemble and frost:
- Layer cakes with swoops of frosting, then frost the outsides with confident, generous strokes—embrace imperfect swirls.
- Chill the cake:
- Refrigerate the cake so it sets firm for dripping; this brief pause helps keep drips neat later on.
- Prepare the gold drip:
- Melt white chocolate with cream until just smooth, cool slightly, and gently spoon around the cake’s edges, letting it trickle down in golden falls.
- Paint the drip:
- Mix gold dust with vodka or lemon extract, then brush onto the cooled drips, savoring the transformation with each stroke.
- Decorate as desired:
- Finish with edible flowers, berries, or flecks of gold leaf—stand back and admire your creation.
 Save to Pinterest
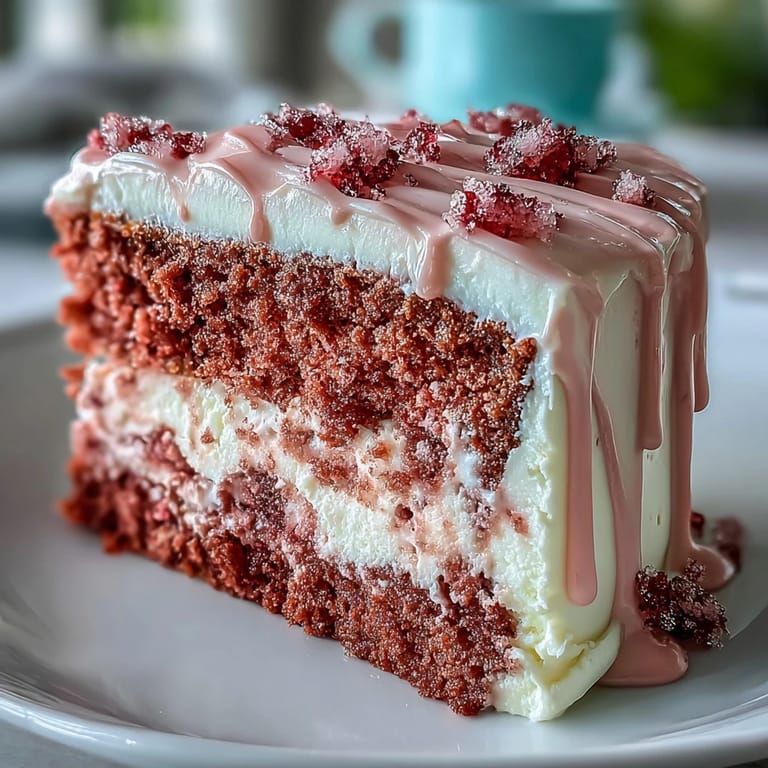
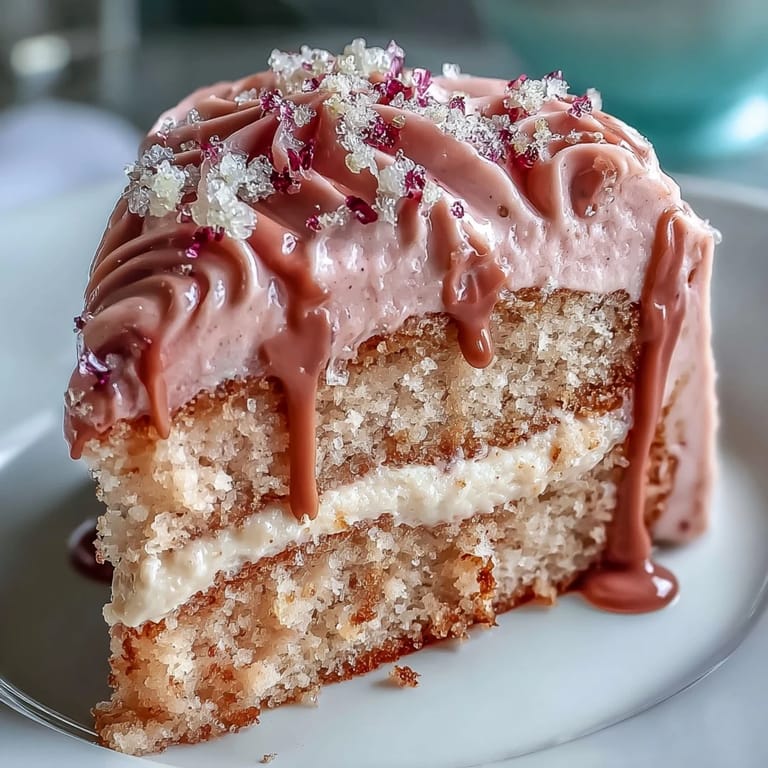
 There’s a quiet kind of magic when a guest hesitates with fork poised, charmed by a cake that simply looks too remarkable to cut. When I saw jaws drop and phones snap photos, I realized this cake had become more than a sweet bite—it wrapped a milestone in memory and shimmered in everyone’s stories long after the plates were cleared.
How to Make the Gold Drip Shine
To get that dazzling finish, be patient with both temperature and timing. The ganache must be just slightly cooled—not hot, or it runs wildly; not cold, or it clumps. When you’re mixing gold dust and your paint, use a dabbing motion with your brush for control. I found that gently rotating the cake turntable helps create even, photo-worthy gold streaks. Celebrate your efforts, even if a drip misses the mark—the shimmer forgives all.
Choosing Your Rosé (and Other Variations)
Opt for a fresh, dry rosé with fruity undertones for a subtle but memorable flavor in every bite. If you’re catering to a mixed crowd, pink grape juice delivers nearly the color and charm without the alcohol. I once used a sparkling rosé, which added a twinkle to the crumb but watch out for extra bubbles when mixing. A note on color: gel food coloring provides punchy pink with just a drop or two. Each variation brings a little something different, and discovering your favorite might be as fun as baking itself.
Assembly, Storage, and Serving Tips
Assembling this cake is all about patience—a short chill after each major step keeps everything neat. Store uneaten slices in the fridge under a cake dome to retain moisture. When serving, use a hot, clean knife for tidy slices that show off those layers. If making ahead, frost only after layers are fully cool, and save the gold drip for just before guests arrive.
- Add a few edible flowers or berries for instant dramatic flair.
- Let egg and dairy come fully to room temperature for a fluffier crumb.
- Don’t forget to hide a slice for yourself before it vanishes!
 Save to Pinterest
 Baking this cake is a joyful kind of work, the type that leaves your kitchen sparkling and your guests truly impressed. May your celebrations be as golden and memorable as every shimmering slice of this Rosé Velvet marvel.
Answers to Recipe Questions
- → Can I make a non-alcoholic version?
Yes. Substitute rosé with pink grape juice or sparkling apple/cider; use the same volume and blend with buttermilk to maintain moisture and flavor without alcohol.
- → How do I get an even pink hue without artificial coloring?
Rely on a high-quality rosé and a small amount of natural beet or raspberry powder for tint. Reduce added cocoa slightly to retain a delicate blush rather than a deep pink.
- → How do I ensure the ganache drip sets properly?
Chill the crumb-coated cake for at least 30 minutes so the surface is firm. Cool the ganache slightly so it’s pourable but not hot; a slightly warm consistency gives controlled drips that set quickly in the fridge.
- → How can I stabilize cream cheese frosting for piping and layers?
Use fully room-temperature cream cheese and butter, beat until smooth, then add sifted confectioners’ sugar gradually. Chill the frosting briefly if it feels soft before assembly; a small amount of cornstarch or extra butter can help stabilize for warmer conditions.
- → What’s the best way to bake even cake layers?
Divide batter by weight across pans, tap out air bubbles, and bake on the same oven rack. Rotate pans halfway through if your oven has hot spots and test doneness with a toothpick for consistent results.
- → How should I store the finished cake and how long will it keep?
Refrigerate the assembled cake in an airtight box; it will keep 3–4 days. For best texture, bring slices to room temperature before serving so the frosting and crumb become tender.